“Creating Scratchboard Ornaments” by Chris Graebner

I’ve been working with scratchboard and clayboard for many years now, using clayboard panels to produce artwork in sizes varying from 5”x7” up to 36”x24”. Clayboard is composed of 1/8” hardboard panels covered with a thin layer of white kaolin clay. Scratchboard is clayboard which has been coated with colored (usually black) ink. The artist uses various tools to scratch through the colored ink to reveal the white clay underneath. Each tool creates distinctive marks in the clay. These marks can be left white or covered with colored inks.
Clayboard is hard to resize because the clay surface shatters in the cutting process. However, three or four years ago I discovered small 2”x2” squares available online and ordered some. I thought they might make unique holiday ornaments. And they do!
So here is my process:
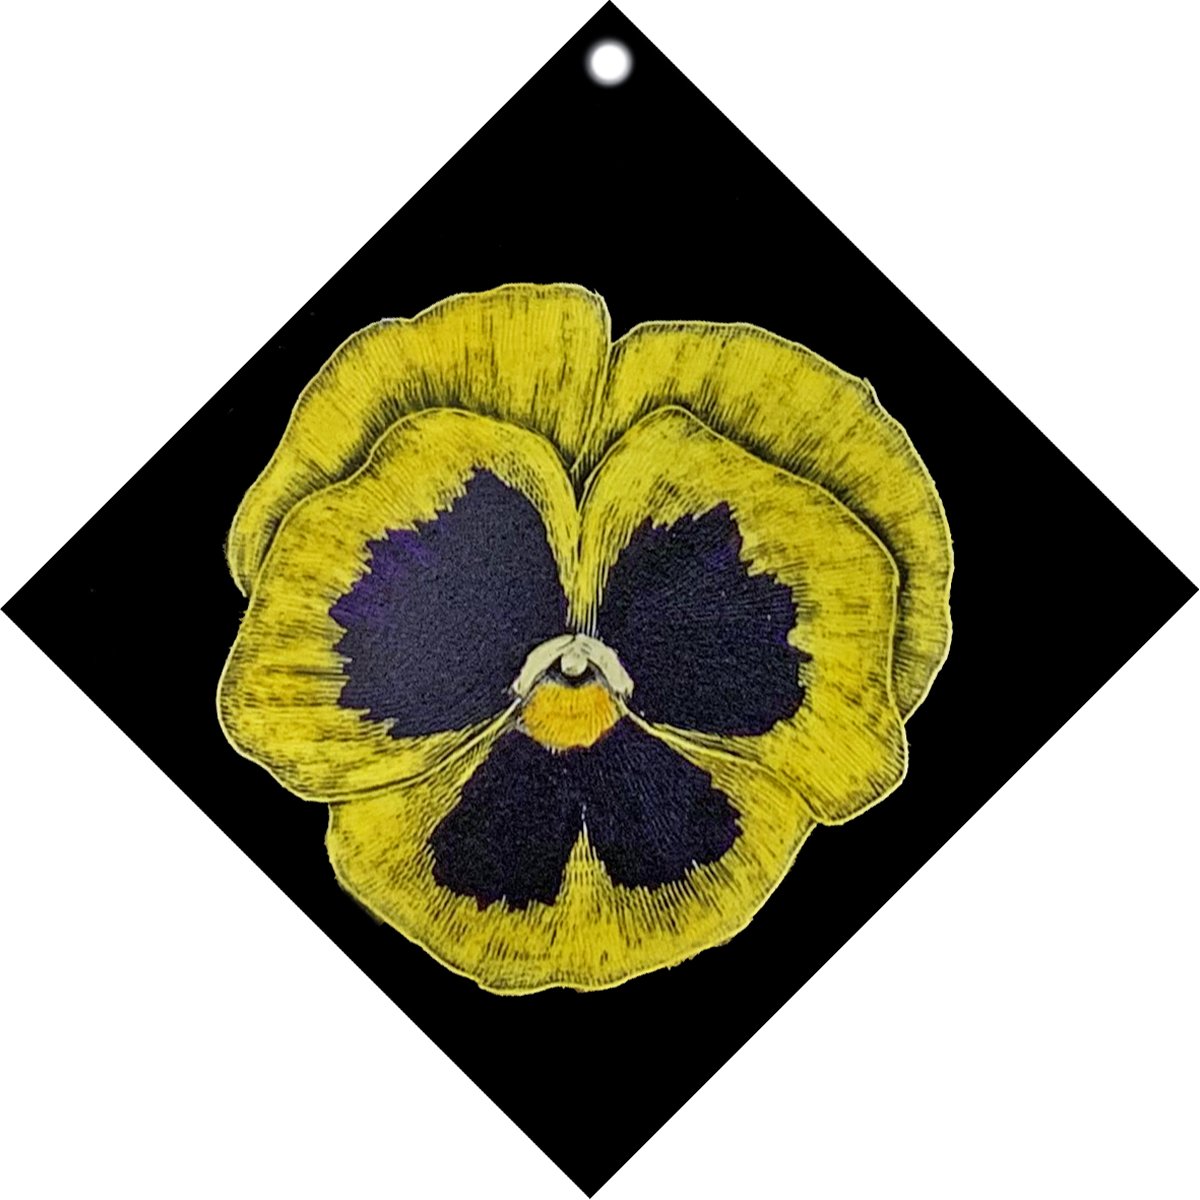
First, I carefully drill a hole in the corner of each square so that I can attach a hanger on the finished ornament. Since the back of each square is plain brown hardboard, I will cover it with gold leaf to make it attractive and reflect light when hanging on a tree. Because the color of gold leaf is affected by the color of the surface under it, (red makes for a warmer gold, blue or green for a cooler one) I paint the hardboard with several coats of red acrylic paint.
Next, I cover the white clay front of the square with black acrylic ink. India ink is often used on commercially produced scratchboard, but it can re-dissolve and muddy the color of other inks used along with it. Acrylic ink, once thoroughly dry, does not. It takes several coats of ink to give the top and sides of each piece a smooth, non-streaky appearance.
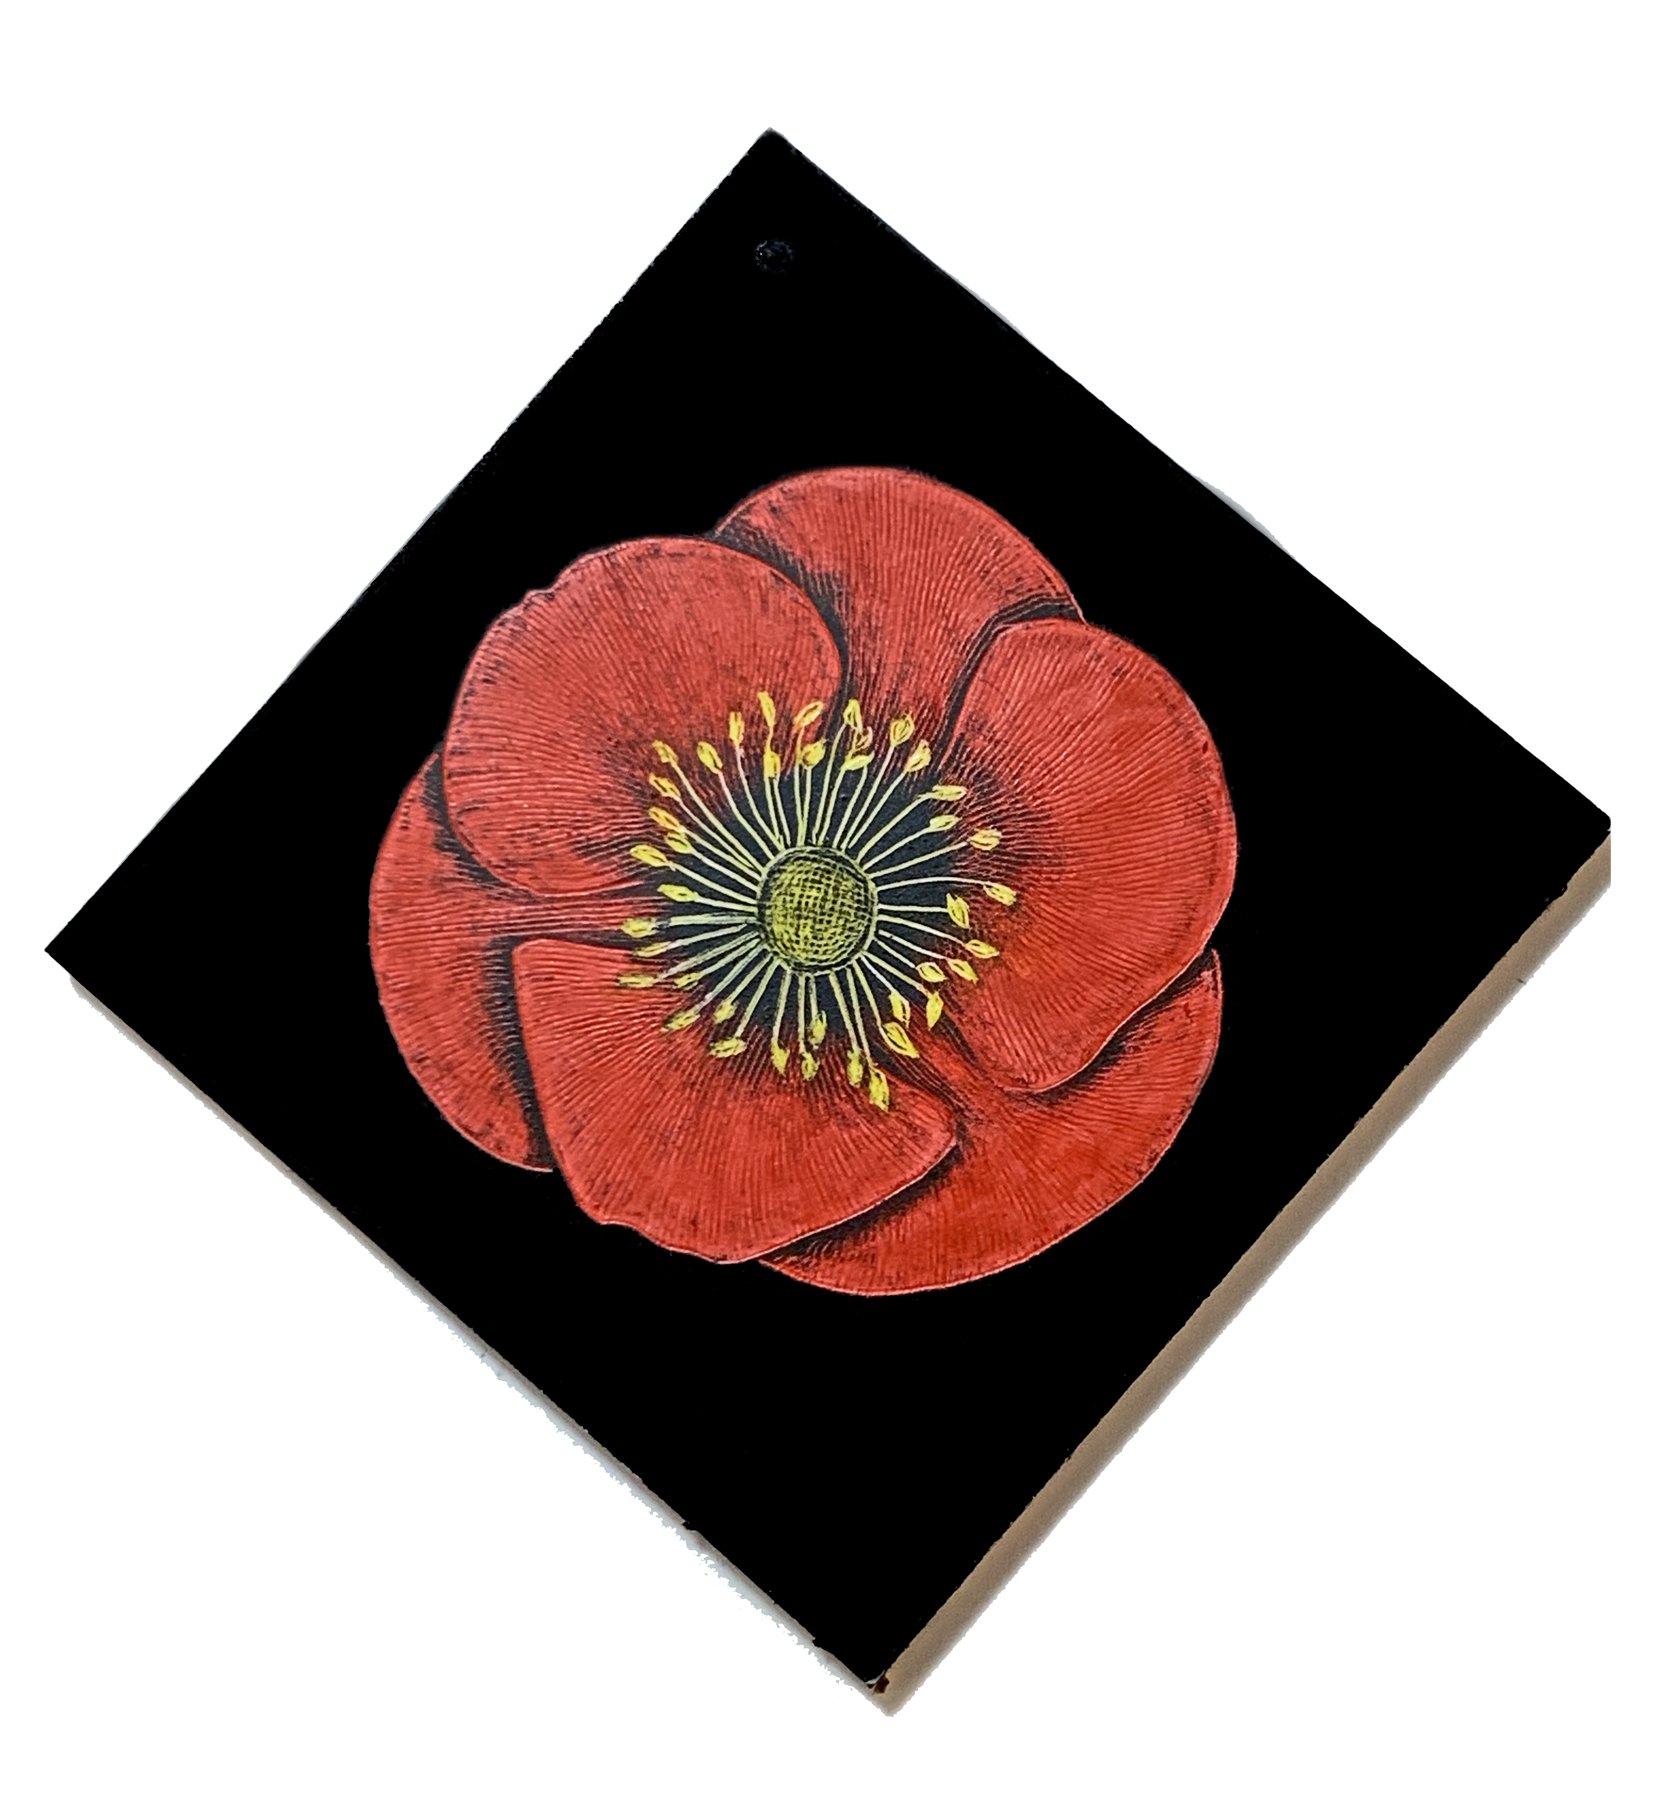
The squares are now ready to be scratched. I create small drawings of different flowers to be transferred onto the surface using white transfer paper. Transfer paper leaves a chalky white outline of the drawing that can be removed with a damp cloth. Using several scratch tools, each leaving a different type of mark, I draw the flower on the black surface. By mixing acrylic ink colors and diluting them with water, I produce the colors I need for each flower and apply them with a small watercolor brush, alternately scratching and coloring to achieve the effect I want. When the flowers are finished, I protect them with three coats of spray varnish.
Then it is time to gild the backs. The adhesive used in gilding is very similar to rubber cement. You apply it, let it set up for a few minutes, then float the extremely light and delicate pieces of metal leaf over the adhesive and push it down with a clean, dry make-up brush. Any gaps in coverage can be filled with small pieces of leaf and brushed down into place. Extra bits are removed with the same brush. When the adhesive is dry, I cover the gilding with three coats of spray varnish.
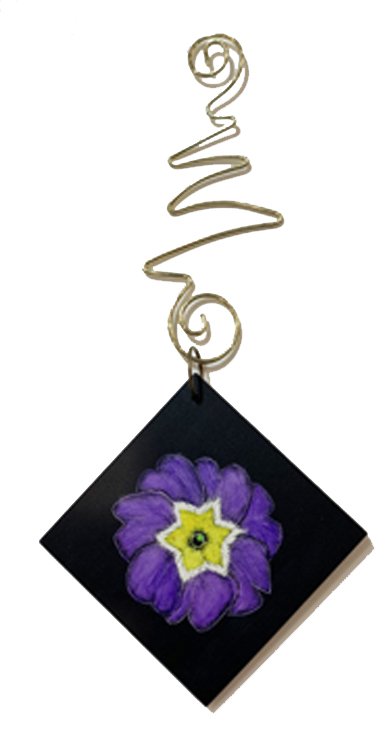
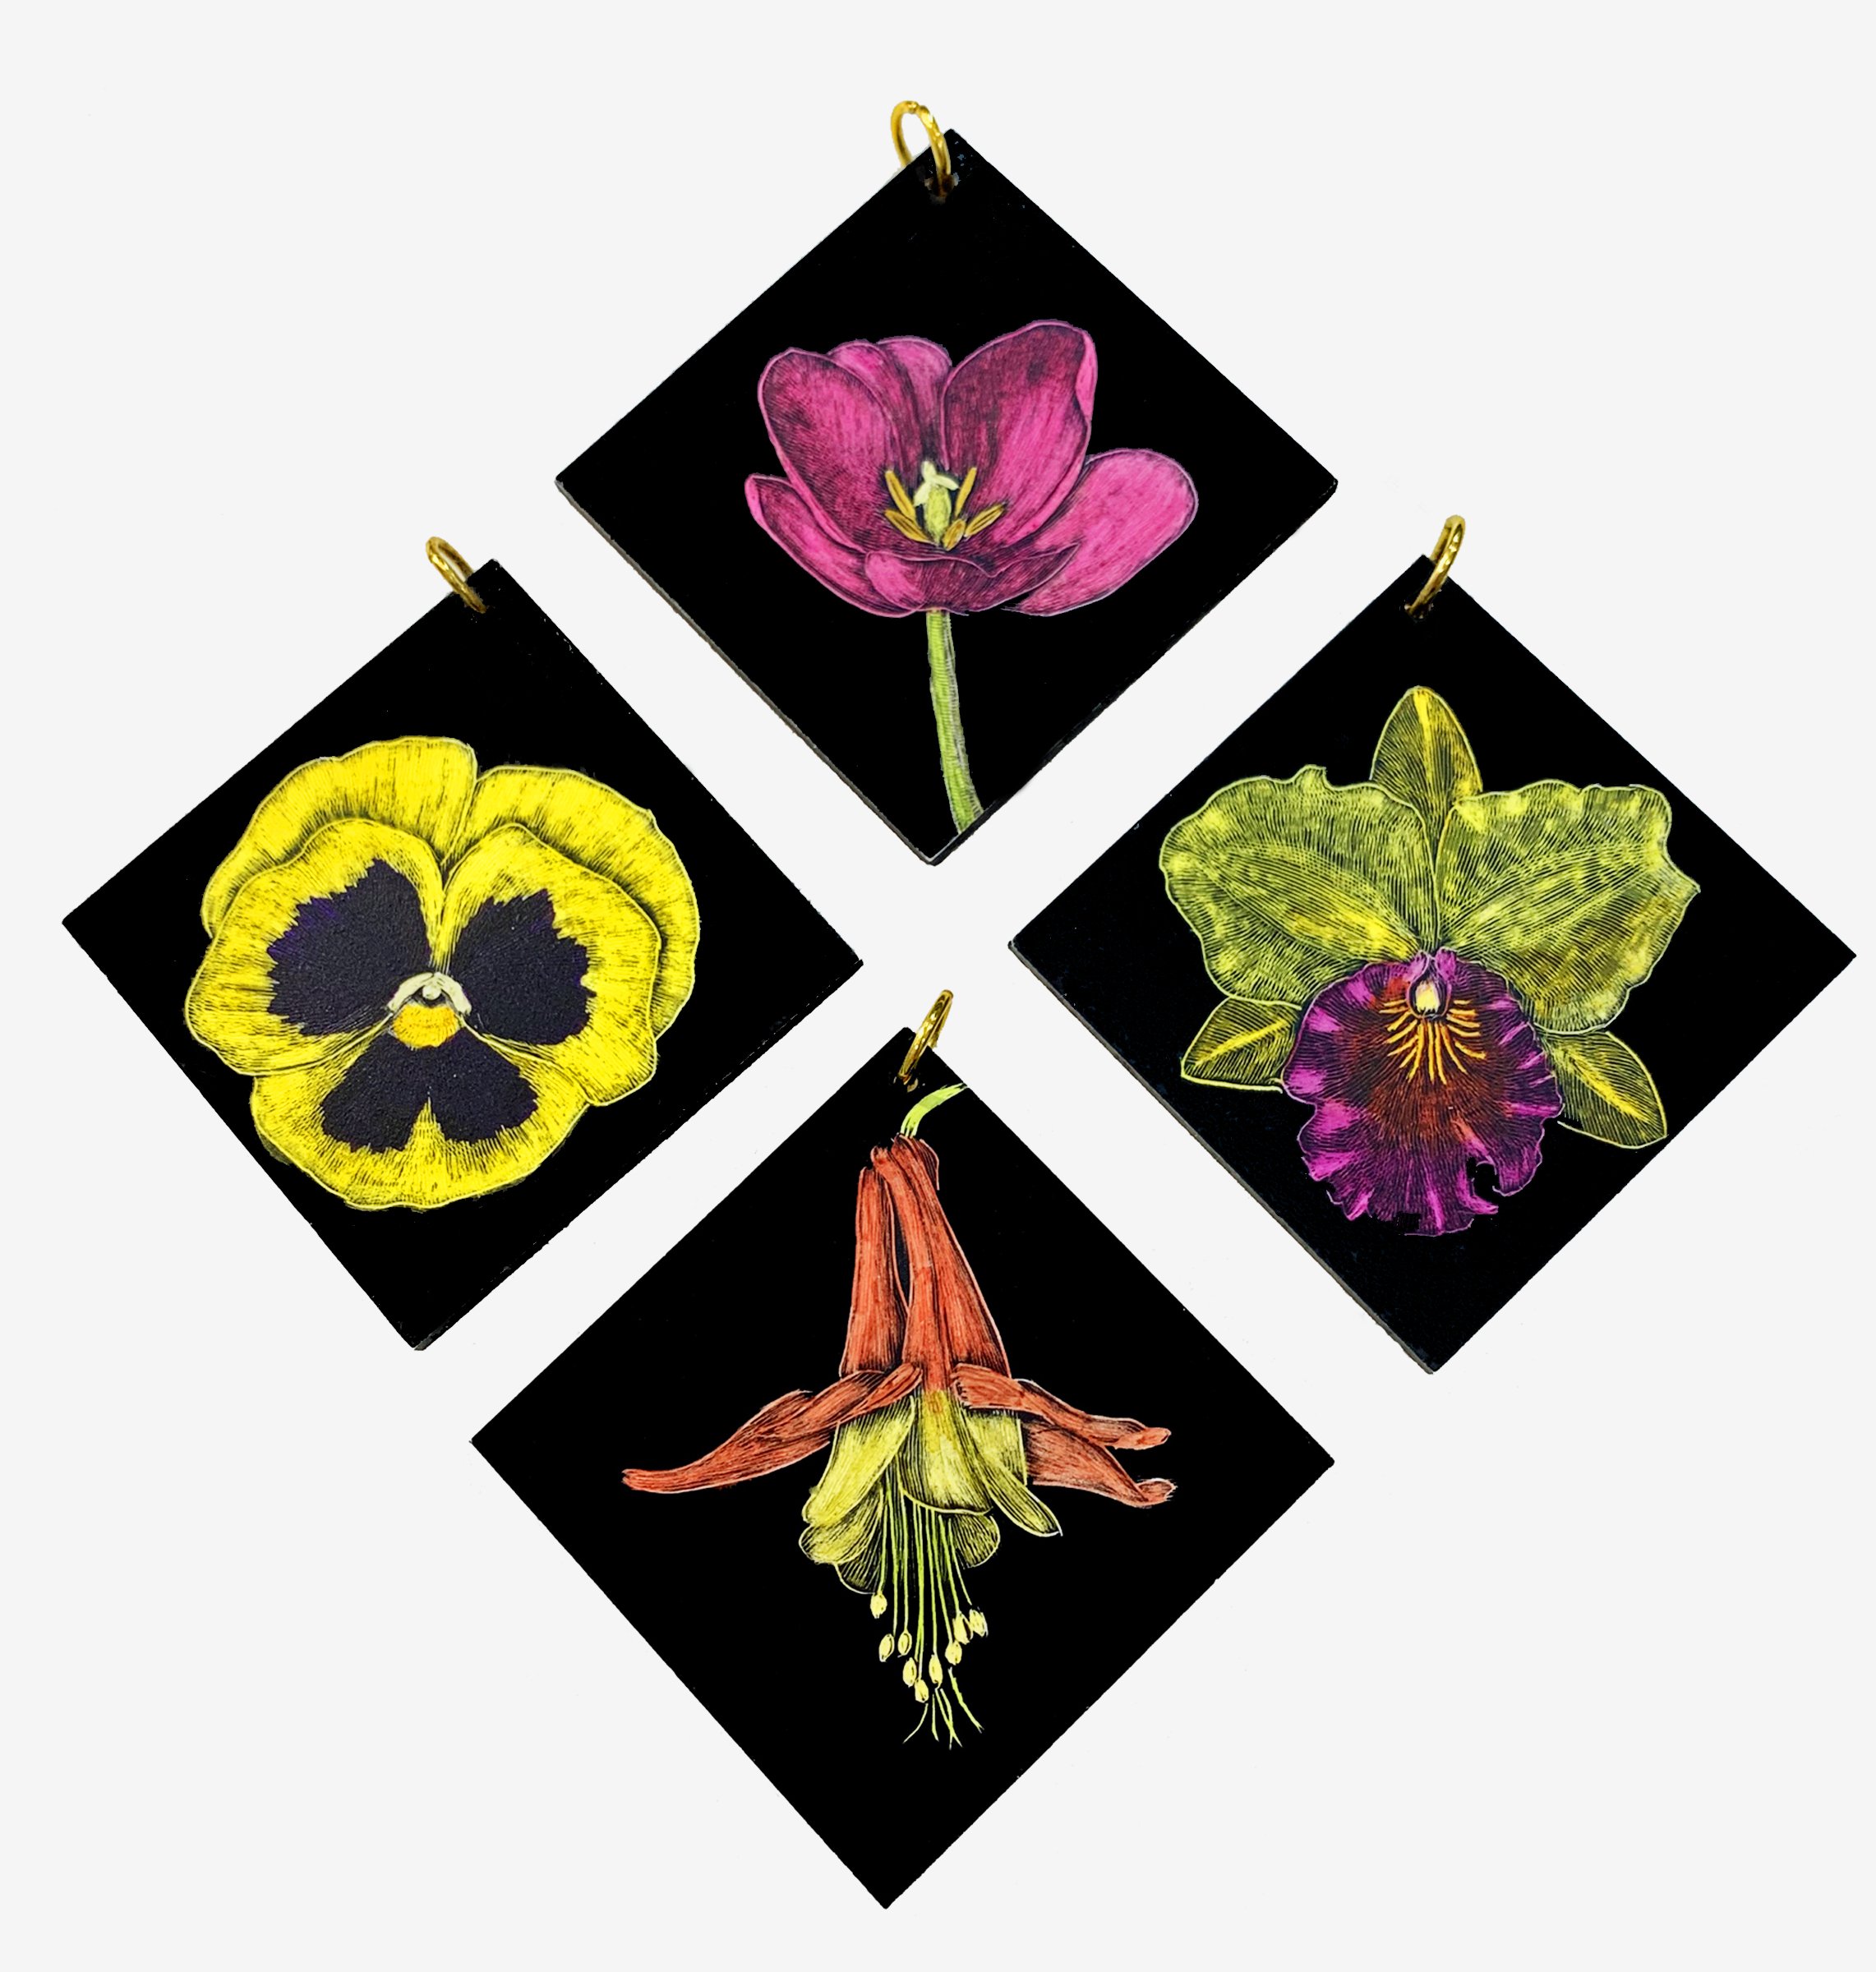
The last step is to install jewelers “O” rings in the corner holes and suspend the ornaments from ornament hooks.
Each ornament is different, and each one is an original piece of art.